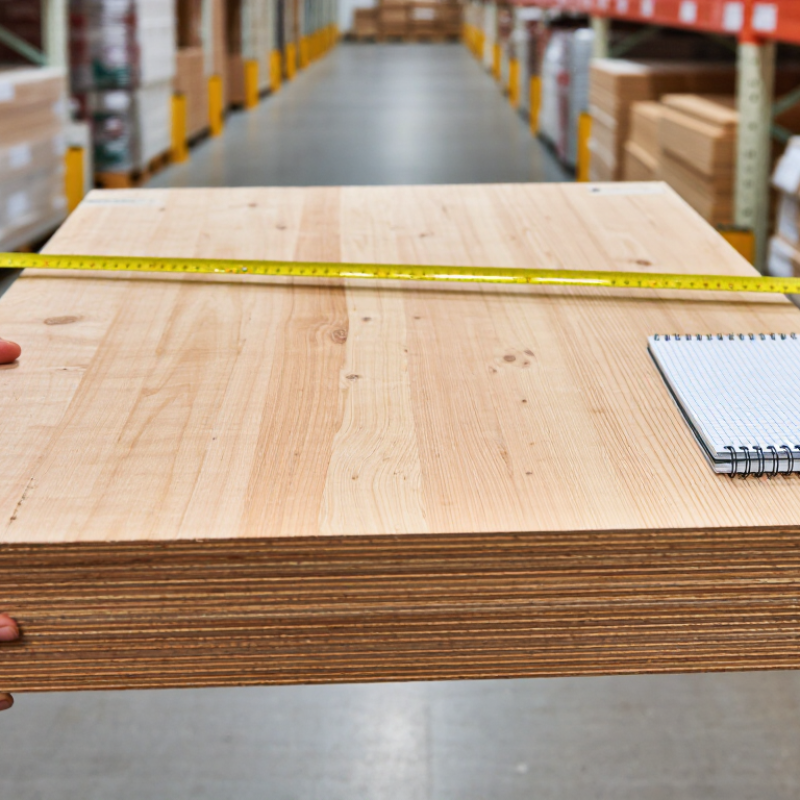
| Panel identification | Look for a legible grade or certification stamp showing the panel standard, performance category, and intended application. | Use panels that meet the applicable structural-panel requirements and local building code. | “CDX” is commonly used as a trade description for panels with C- and D-grade faces and Exposure 1 bonding. Confirm the actual stamp; the term alone does not establish every structural property. |
| Exposure classification | Distinguish Exposure 1 panels from Exterior panels. | Exposure 1 is intended to tolerate temporary construction moisture. Exterior panels are intended for repeated wetting or long-term weather exposure when used as specified. | Exposure 1 does not mean waterproof. Protect installed panels from prolonged rain and standing water, and do not leave them permanently exposed unless the panel is rated and detailed for that use. |
| Expected wetting | Consider rainfall, snow, leaks, condensation, and how quickly the assembly will be enclosed. | Choose a panel and protective assembly suited to the anticipated moisture exposure. | For exterior conditions, provide suitable roofing, siding, flashing, drainage, and ventilation. Replace panels that are delaminated, badly swollen, or structurally damaged. |
| Moisture before installation | Check panels and framing for visible wetness, swelling, mold, or water damage. | Install dry, sound materials and follow project specifications for moisture limits. | Store panels flat, off the ground, and protected from direct weather while allowing air circulation. Avoid trapping wet panels inside a closed assembly. |
| Thickness and span rating | Match the panel thickness and span rating to the support spacing, loads, and application. | Use the rating and installation orientation specified for the roof, wall, or floor system. | Do not select thickness by appearance alone. Confirm design loads, support spacing, panel orientation, and local code requirements; a structural designer may be needed for unusual loads or spans. |
| Panel edge support | Check whether panel edges are supported by framing, blocking, or an approved edge-support system. | Provide the edge support required by the panel rating and project design. | Unsupported edges can deflect. Follow the sheathing layout and fastening details in the approved plans or applicable code. |
| Expansion spacing | Allow room for small dimensional changes at panel joints. | A common APA installation recommendation is a 1/8-inch gap at panel edges and ends unless the panel instructions or project documents state otherwise. | Use a consistent spacer during installation where appropriate. Do not force swollen panels tightly together; verify the product instructions and local requirements. |
| Fasteners and fastening pattern | Verify fastener type, length, corrosion resistance, edge distance, and spacing. | Follow the approved structural details, panel instructions, and applicable building code. | Fastener schedules vary with the assembly and design loads. Drive fasteners flush without breaking through or crushing the panel surface. |
| Cut edges and penetrations | Identify cut edges, holes, and areas exposed to water entry. | Use flashing, membranes, or compatible edge protection where required by the assembly design. | Sealing cut edges can help limit moisture entry but does not convert an Exposure 1 panel into an Exterior-rated panel. |
| Final suitability check | Review the panel stamp, exposure conditions, span, supports, fastening, and moisture protection together. | Proceed only when the panel is suitable for the designed structural application and the installation matches the approved details. | When requirements conflict or the intended exposure is unclear, consult the panel manufacturer’s technical documentation, the building official, or a qualified structural professional. |


 Your message must be between 20-3,000 characters!